Give each Revit version its own icon
Most of us keep several Revit versions installed at once — 2023, 2024, 2025, 2026, 2027, 2028 — and switch between them depending on the project. The problem: every version uses the same icon. On the desktop and, worse, pinned to the taskbar, they look identical, so launching the right year becomes guesswork.
The fix is simple and takes about a minute per version: replace the shortcut’s icon with a custom one that shows the year at a glance. Pinned to the taskbar, each version becomes instantly recognisable:

The ready-made pack below covers Revit 2023 through 2028, each icon badged with its year and a distinct colour.
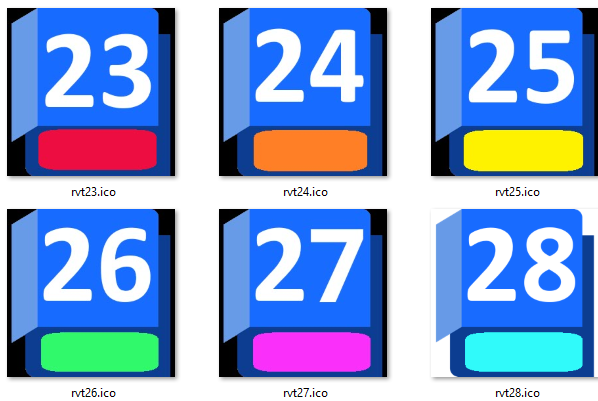
How to set a custom icon
- 1Right-click the Revit shortcut (on the desktop or the taskbar) and choose Properties.
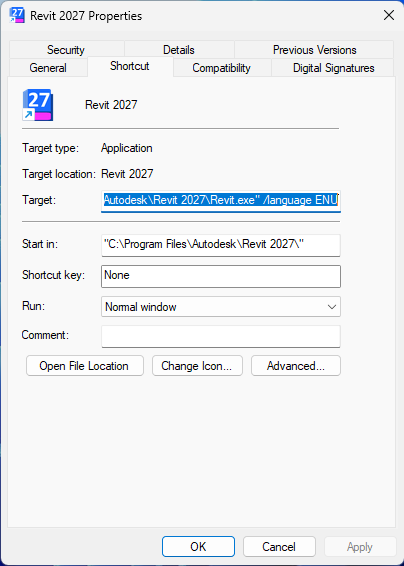
- 2On the Shortcut tab, click Change Icon….
- 3Browse to the downloaded
.icofile for that version, select it, and click OK, then Apply. - 4Repeat for each Revit version. The taskbar picks up the new icon once you re-pin or restart the shortcut.
If the icon doesn’t stick: on some systems Windows won’t keep a custom icon while the
Download the icon pack (rvt_icons.zip).ico file sits on the Desktop or in Downloads. Moving the icons into a permanent folder on the C: drive (for example C:\ProgramData\Vixeldorf\RevitIcons\) and pointing *Change Icon* there fixed it. If your custom icon keeps reverting, use a system folder on C: rather than a user folder.